This blog has been stop updated since May 15, 2023. Read the latest version : Click here

✨Install chatbots for FREE.✨
- Free of charge, No credit card required for basic package (Limit 10 Q&A)
- If you would like to upgrade to a premium package. The average price is 15 USD per month, which you can contact the admin later. We do not auto-charge.
Step 1 : Let’s start installing chatbots.
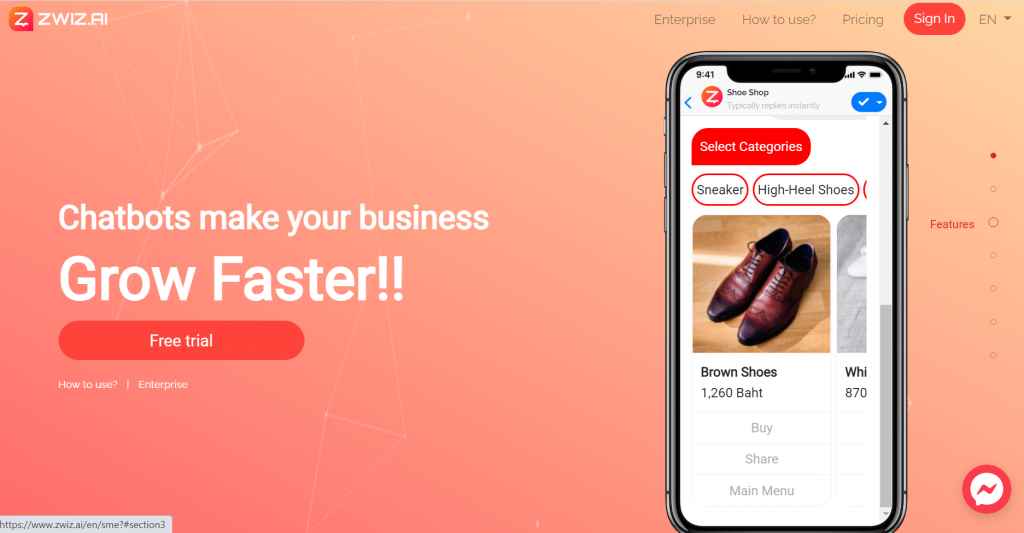
1. Go to website https://zwiz.ai/my/sme?utm_source=MY and press the ‘Free’ button
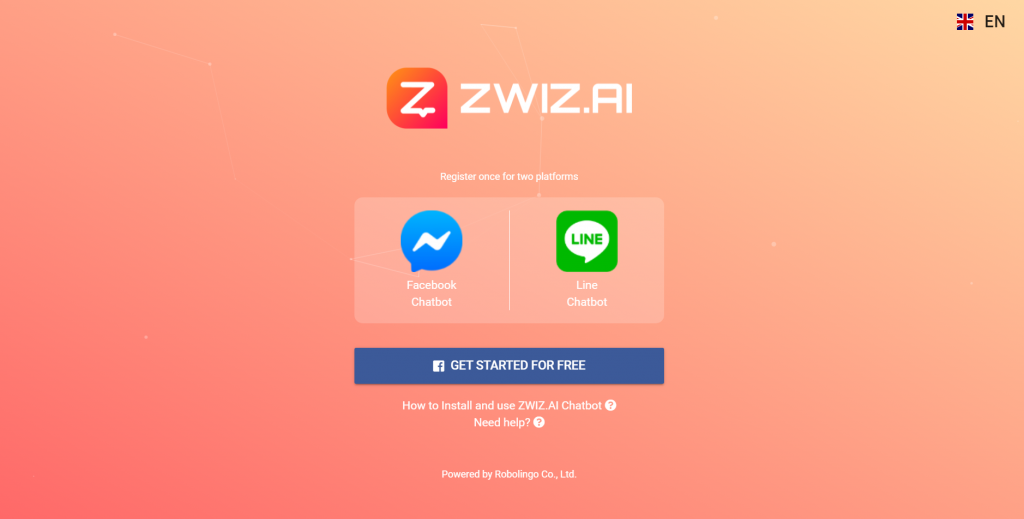
2. Press the “Get Started for Free” button to start creating a Facebook Chatbot (and can connect to LINE as well).
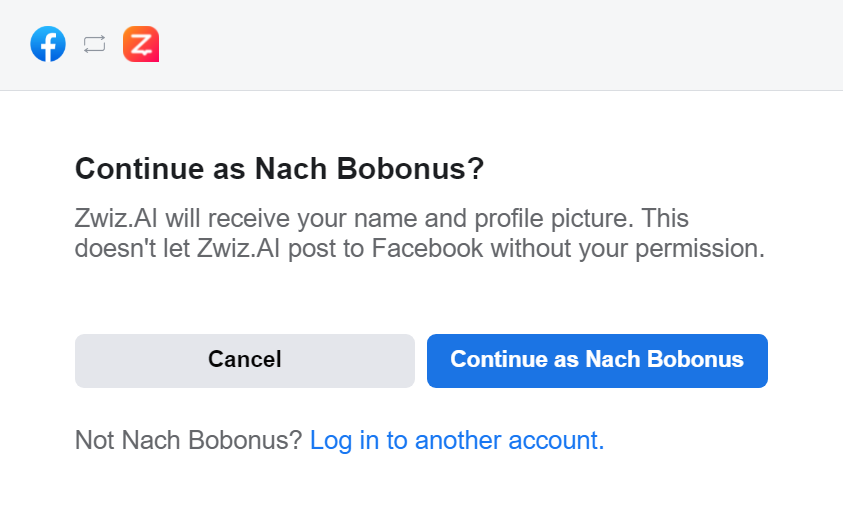
3. Press the button “Continue as…”
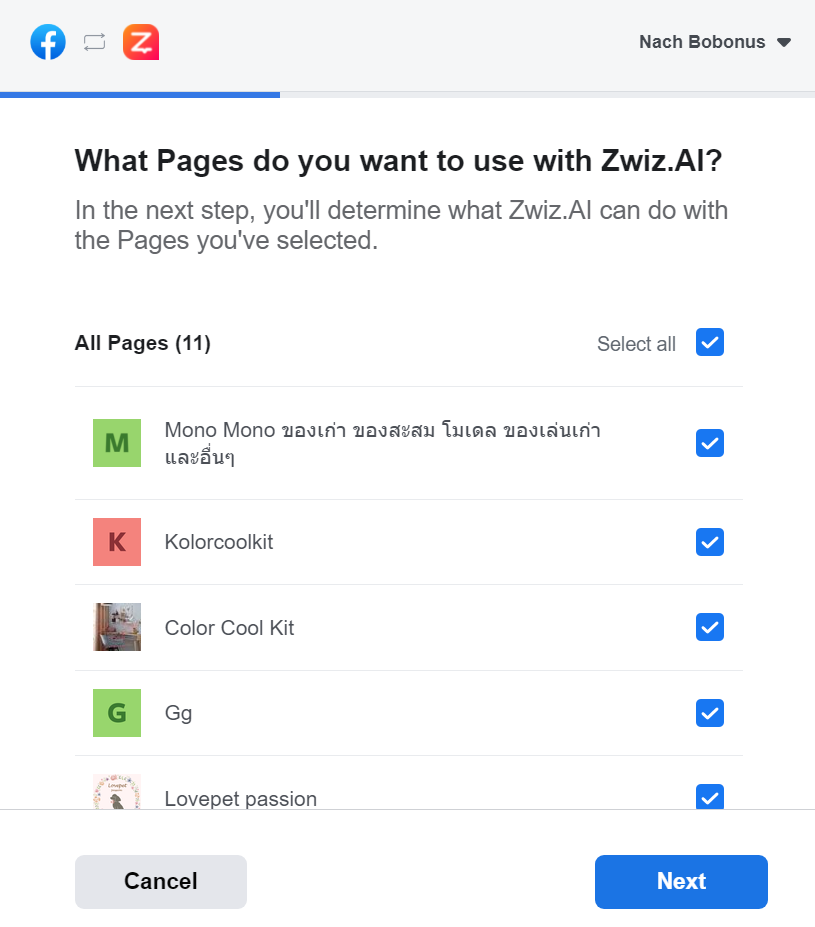
4. Click the “Select All” button
(to prevent the problem of adding the page later.)
5. After selecting all, press the “Next” button.
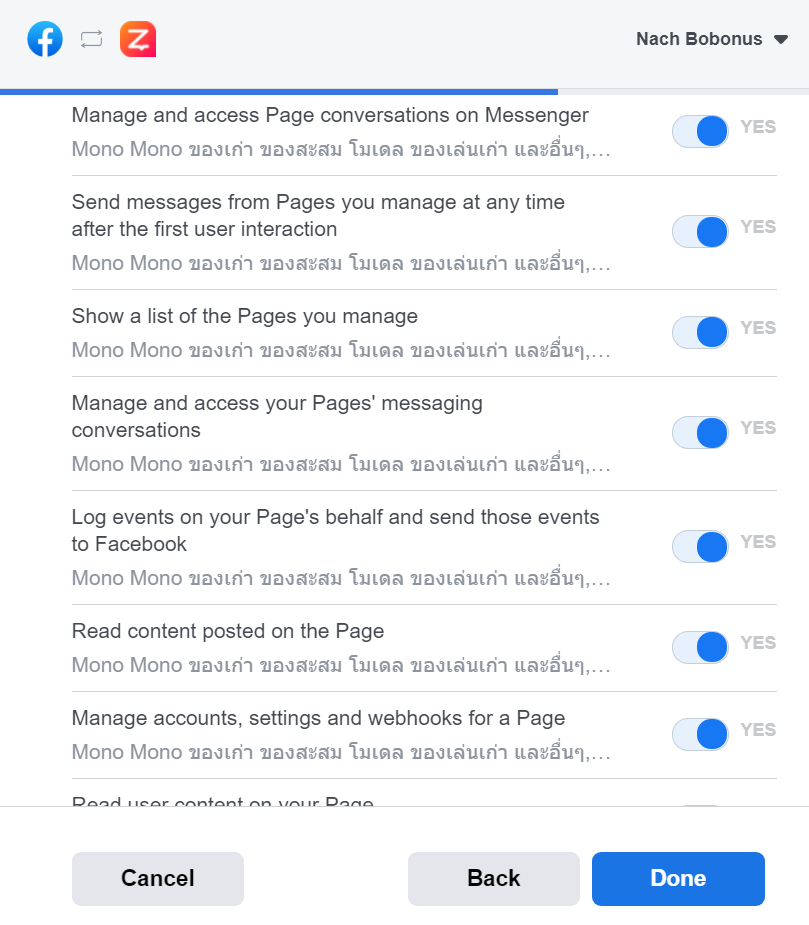
6. Turn on all permissions and press the “Done” button.
(If all permissions are not allowed in this section, Ai may not work properly.)
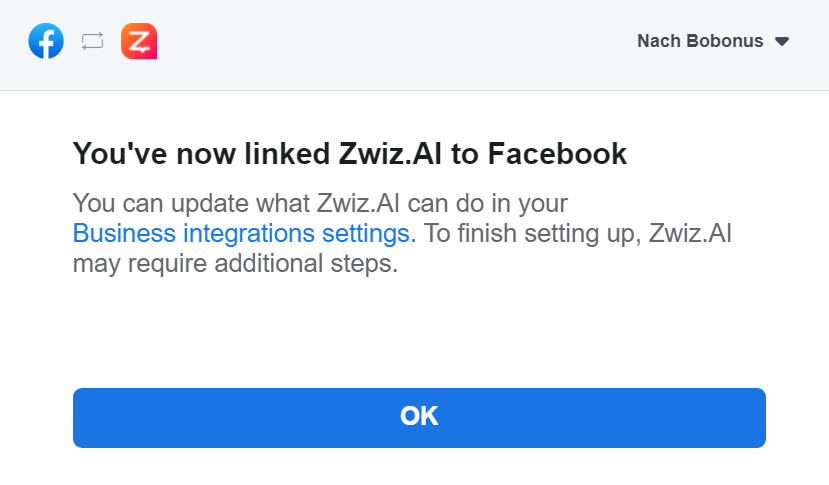
7. The chatbot has been linked with Facebook successfully.
Press the “OK” button.
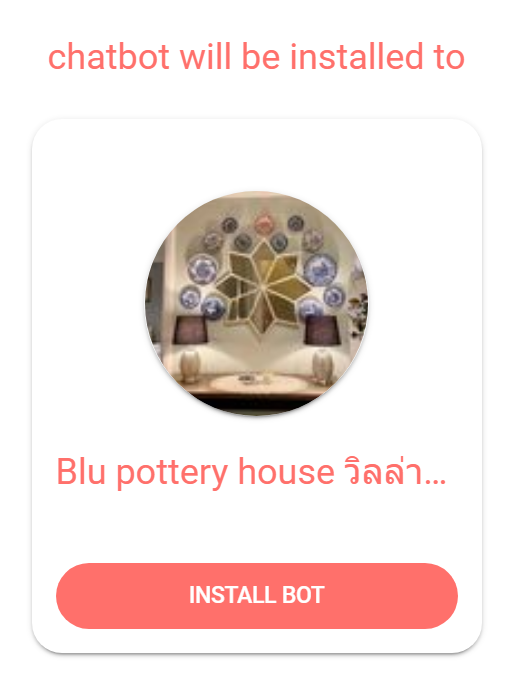
8. Select the Facebook page that you want to install Ai Chatbot.
(Choose one page at a time)
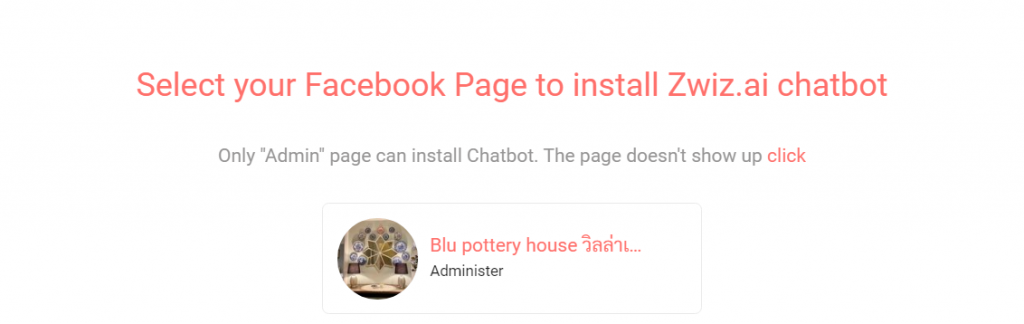
9. Press the “Install Chatbot” button to start setting up.
You have installed ZWIZ.AI CHATBOT.
It’s ready to set up !!!!!
Step 2 : Set up a welcome message
Click to show/hide

There are 3 main steps
Step 2.1 : Setting up the messages that customers ask frequently. (Left side)
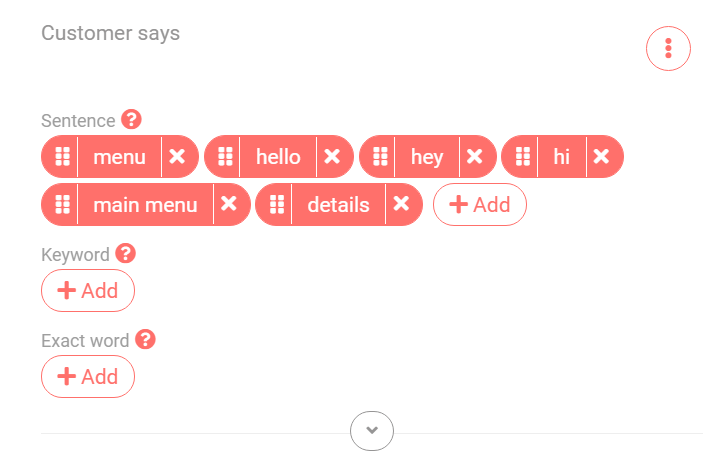
Difference of sentence//keyword//same as
–Sentences can be typed as long sentences.
–Keywords are used with short words. If there is this word in the sentence, the bot will answer according to the set answer.
–Exact words Use with 100% exact synonyms. There must be only one word in the sentence.
Step 2.2 : Setting up a message for the store to answer customer questions. (right side)
2.2.1 TEXT

Text response:
1. Add item “Text”
2. Type the message you want to reply in the blank. “Chatbot Responses” are free (up to 2000 characters).
3. Choose up to 5 random answer formats. The system will randomly answer the customer’s answer.
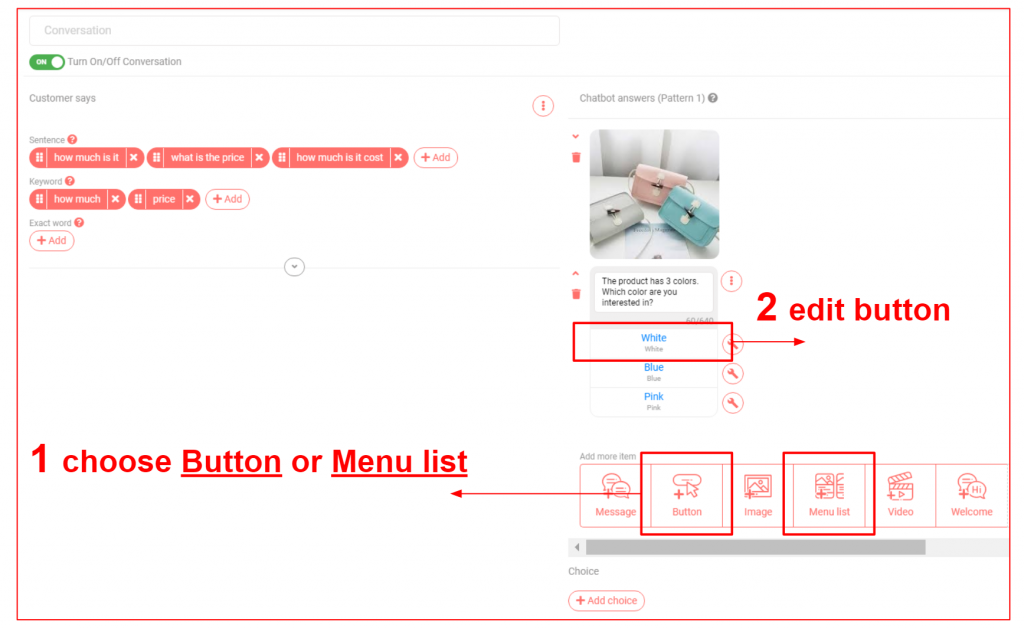
2.2.2 Button
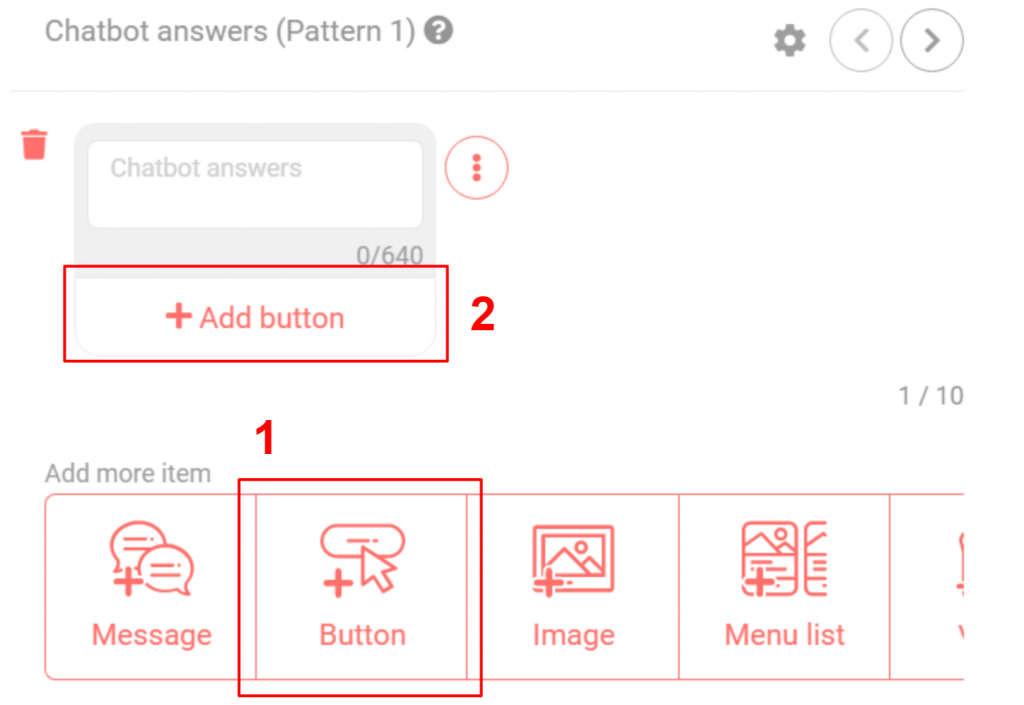
Push-button response:
1. Added item “Push Button” – Type the message you want to reply in the blank. “Chatbot Responses” (up to 640 characters)
2. Press the “add button”
3. When you press the “Add Button”, there will be 5 styles to choose from.
Botton Style 1: Link
When the customer presses this button The system will link the customer to the website that the user has entered.
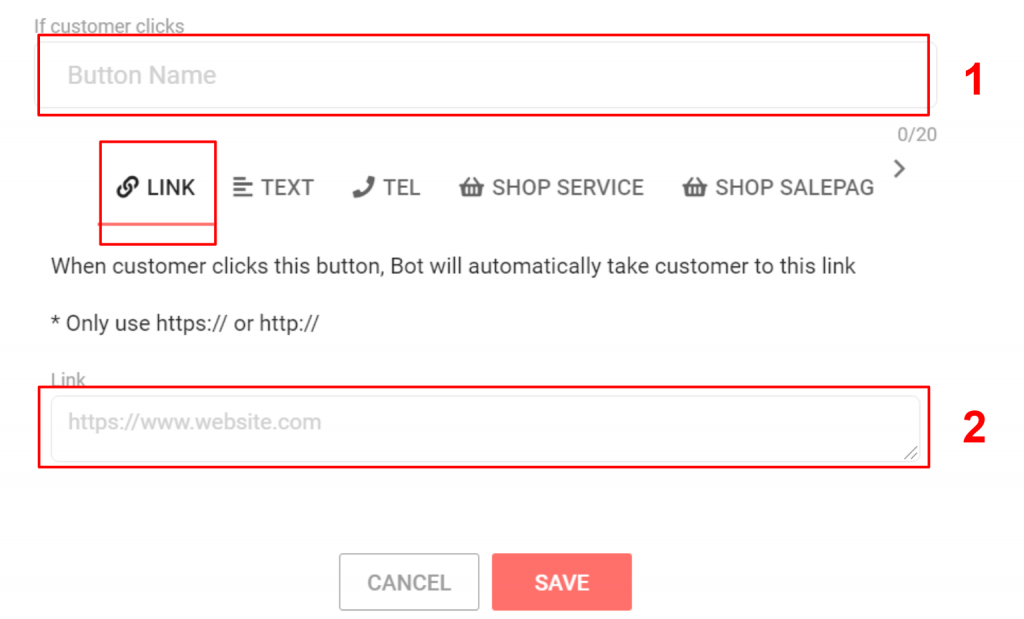
1. Name the button
2. Enter the desired link. It can be either one that starts with https:// or http://, otherwise it cannot be used. We would recommend https:// as it can support both platforms. both facebook and line
3. press save
Botton Style 2: Text
When the customer presses this button Users will need to set up a Conversation page to see what the bot responds to.
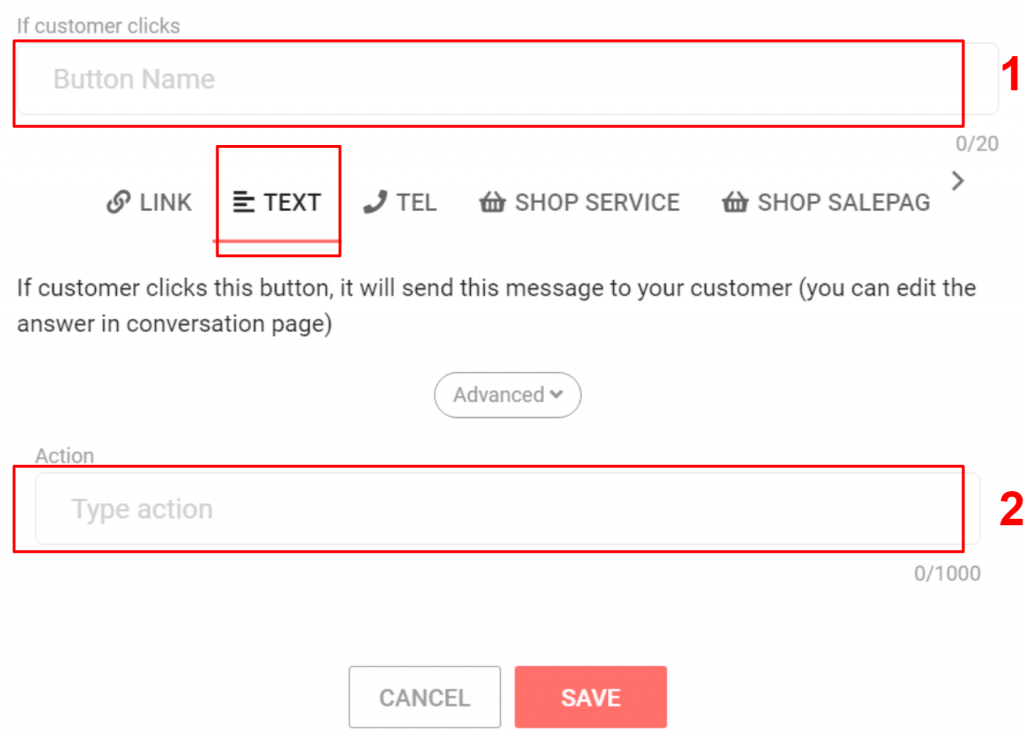
1. Name the button.
2. Take the button name that has been set. Go to settings in the conversation section on the left side, Frequently asked questions from customers
Botton Style 3: Call
When the customer presses this button, the system will automatically call the number that the user has entered. This means that customers must use a mobile phone to connect only.
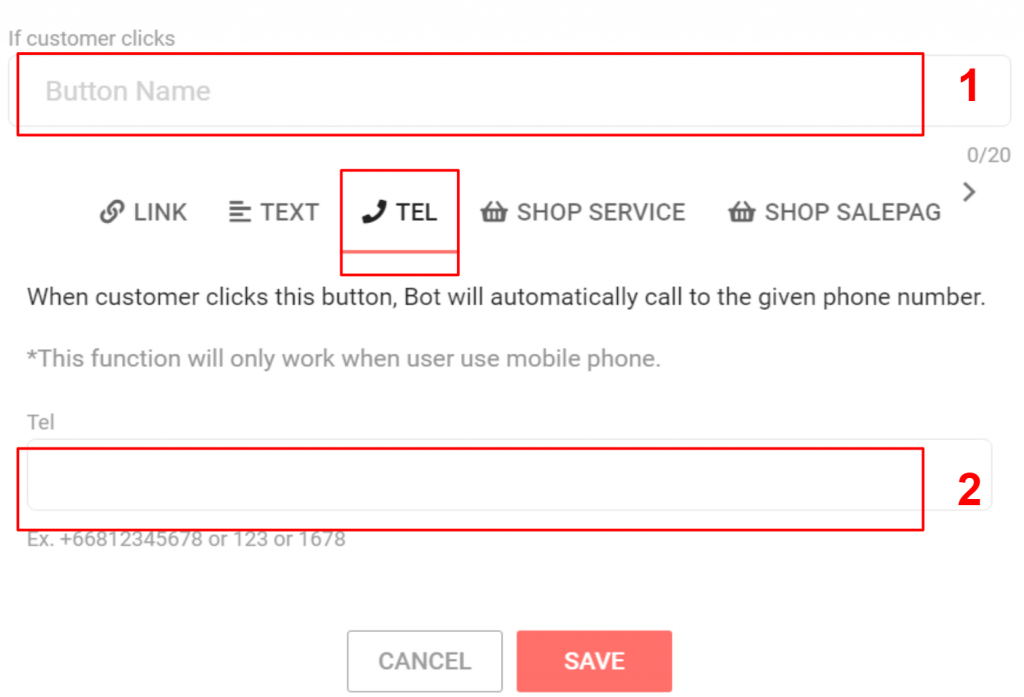
1. Name the button
2. Select the country code
3. Enter your phone number
4. Save
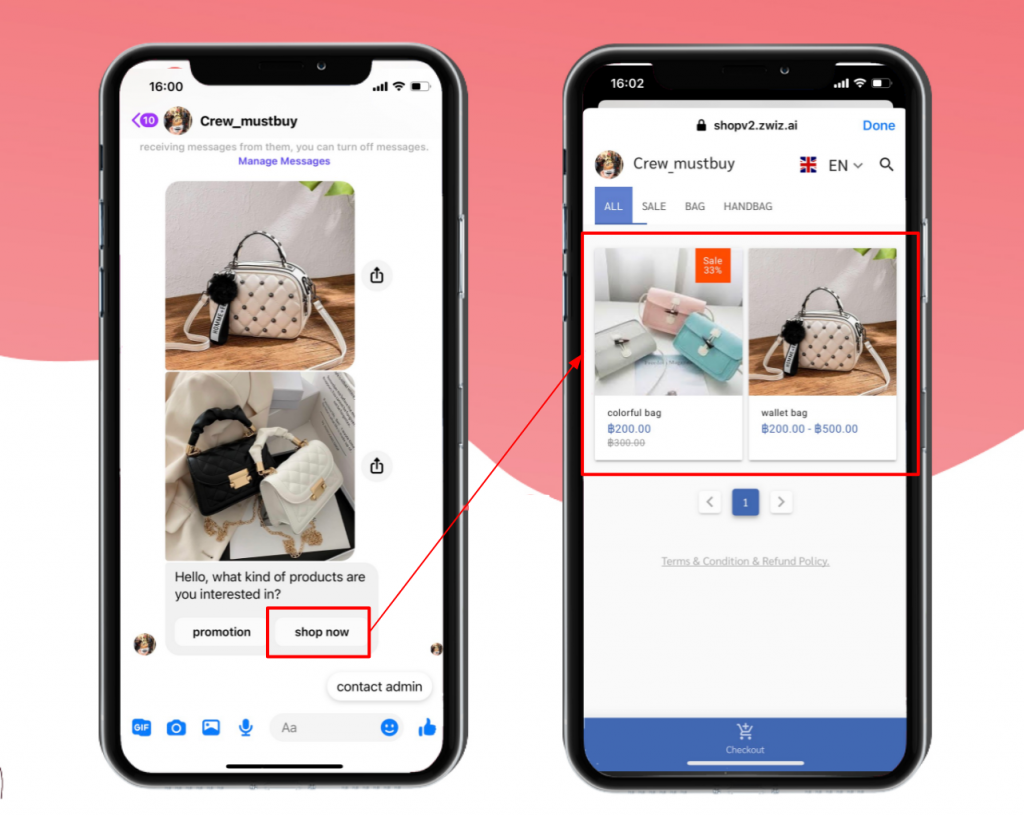
Botton Style 3: Shop Service
In the event that the user has a product that is included in the Shop Service, which is one of the features of ZWIZ.AI, when the customer presses this button The system will link to the one-stop shop service page. Users can also choose to link directly to various product categories.
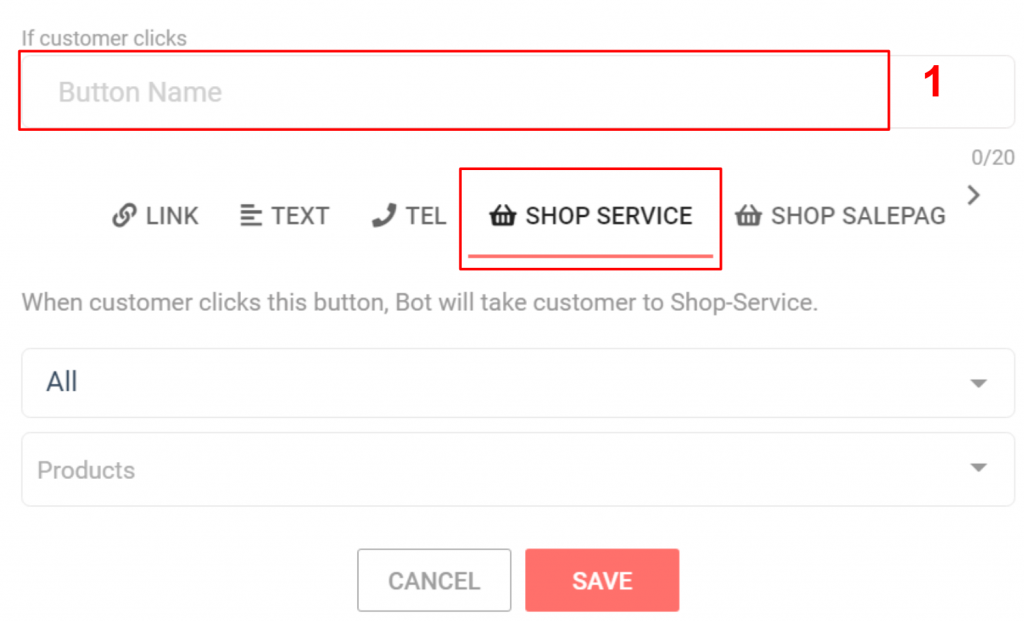
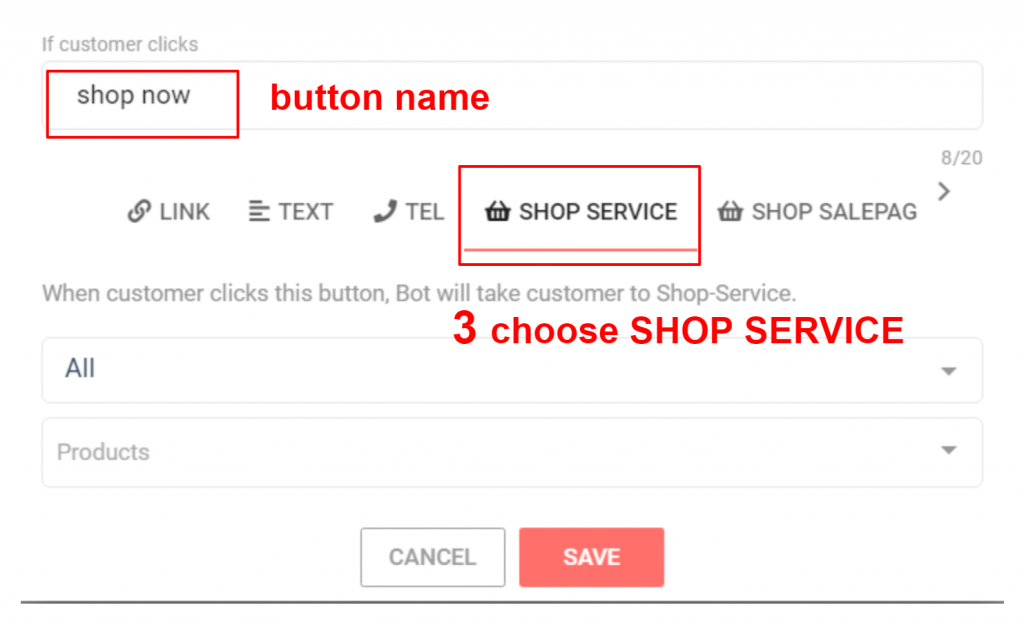
1. Name the button
2. Select a product category in Shop Service
3. Select a specific product in Shop Service
4. Save
2.2.3 Image
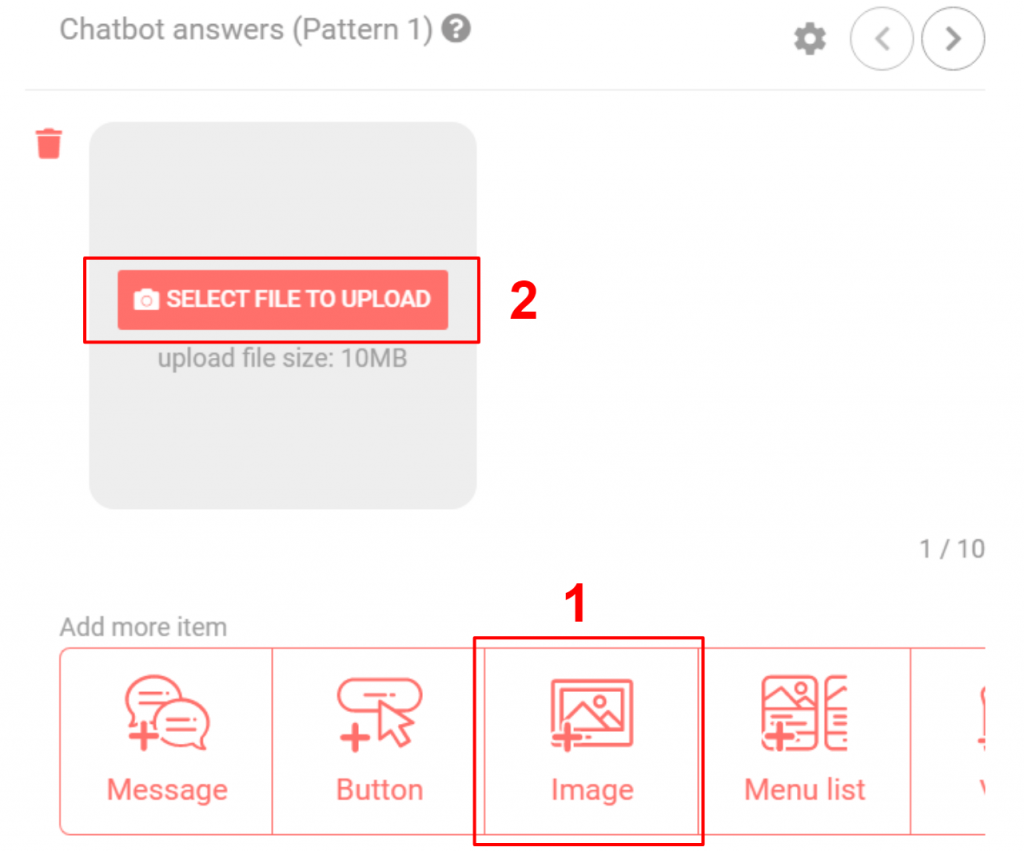
Image response: 1. Add the item “Image”
2. Click “Choose a file to upload” (size not more than 10MB)
3. Recommended image size is 1:1 or square format.
2.2.4 Menu list
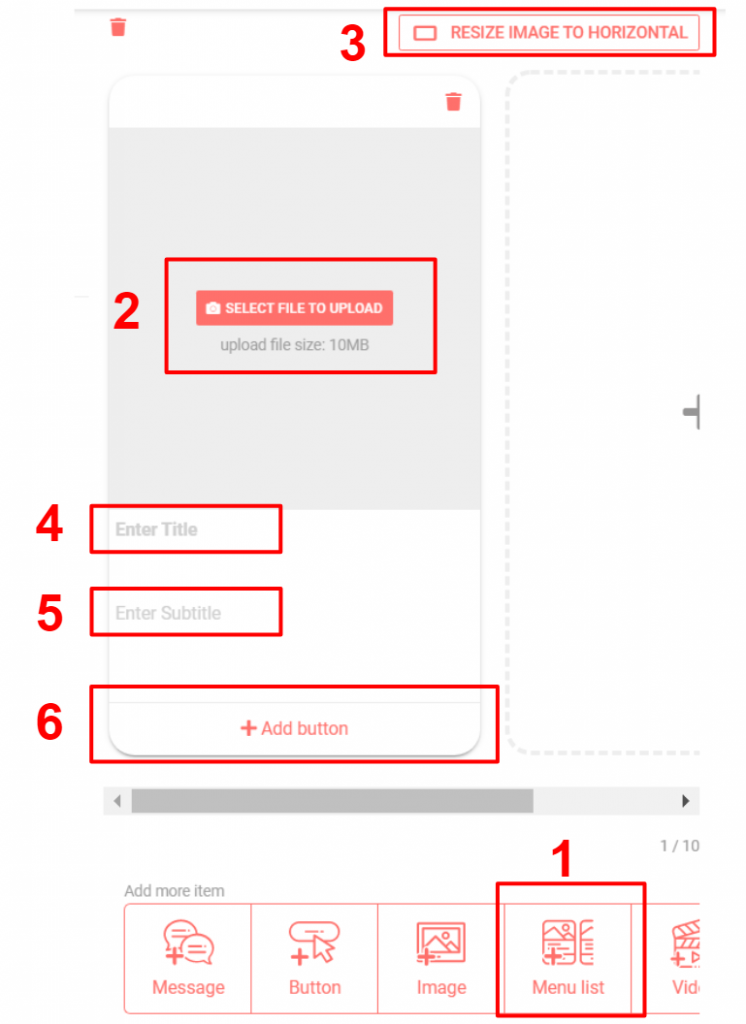
Menu List Reply: (It’s a layout that combines text, buttons, and images together +scrollable)
- Add item “menu list”
- Click “Choose a file to upload” (size not more than 10 MB)
- Can change the image size to vertical 1:1 or square format. But it can change the image to landscape as well. where the image size is 1:1.61)
- Type a topic in the “Add a topic” box. This area will show in dark text (not more than 80 characters).
- Type a subtitle in the box. “Add Subheading” This area will show in light-colored text (no more than 80 characters).
- Press “Add Button” to create a push button.
Note : ** A maximum of 10 menu items can be added.
** If “add button” is Text (text), must always set the answer of the bot on the Conversation page.
2.2.5 Video
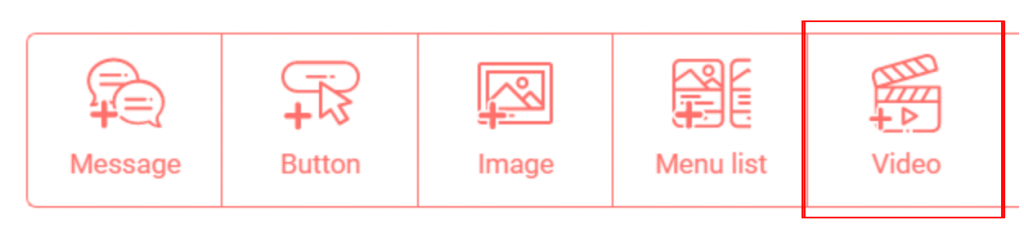
Video Response:High resolution affected the speed of loading.
Recommended: video ledgth is no more than 30 seconds or 264 pixels each.
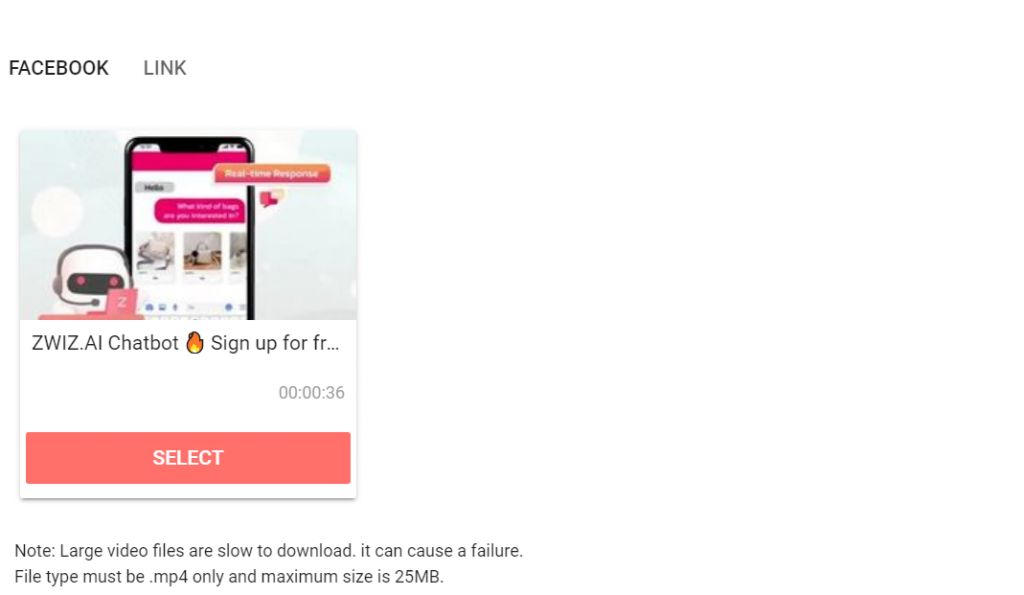
Available sources for videos are as belows;

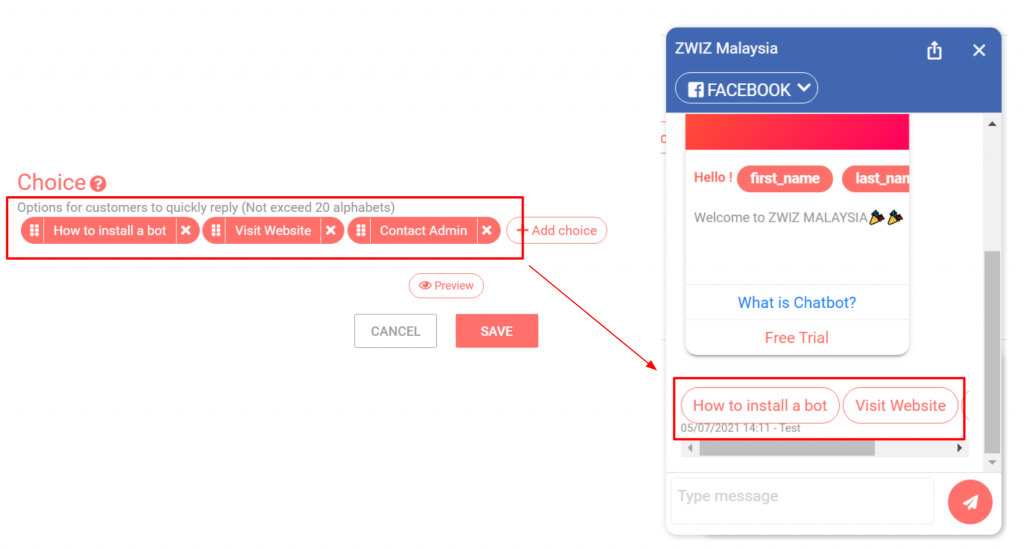
Step 3: Make a Choice
Click to show/hide
Choice is the guideline words for customers. So customers don’t have to type but can easily press “choice” to get the faster answer.
Press the “Add Option Words” button, type a common word as an option for the person who messaged you. (Limited to 20 characters per choice word)
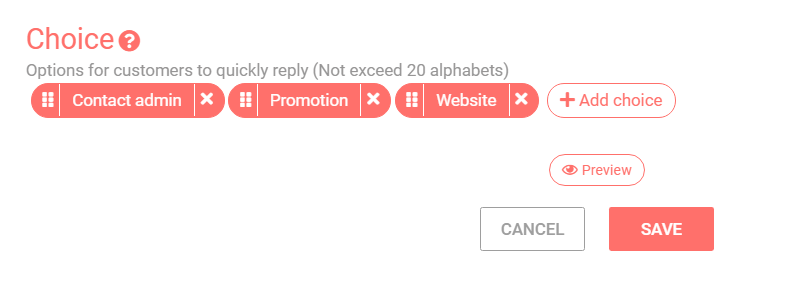
When you’re done adding words, you need to set it up in the “Conversation” page. (can put up to 10 buttons)
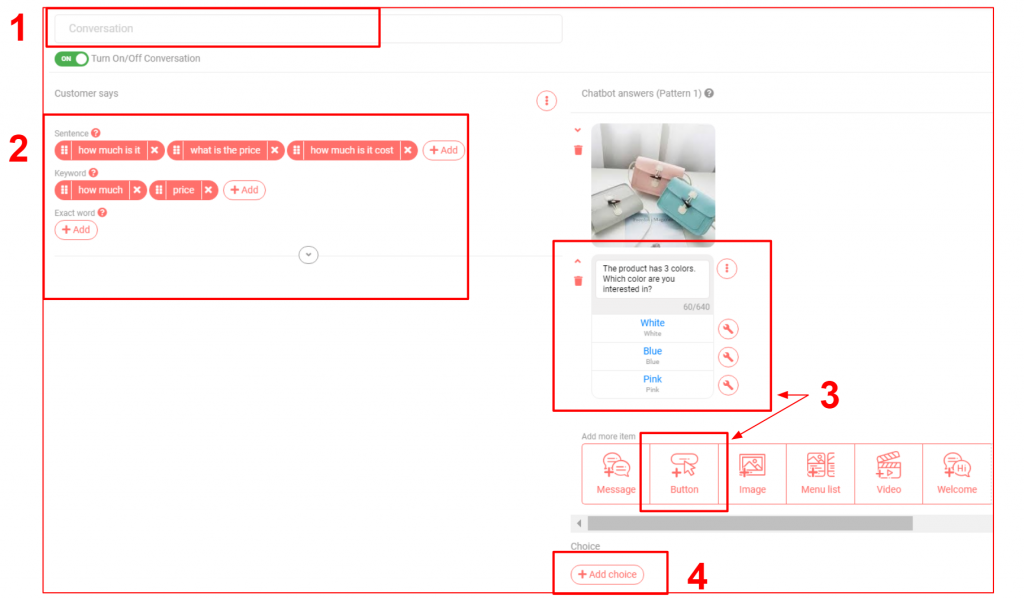
Step 4: Conversation
Click to show/hide

Create answers for frequently asked questions.
1.Name the topic.
2.Put the words that the customer will ask on the left side.
3.Create the desired chatbot response.
4.Added choices for this conversation topic.
5.Press save
**Every time you type a message, create a push button, text, you need to set the answer of the bot in the conversation page.
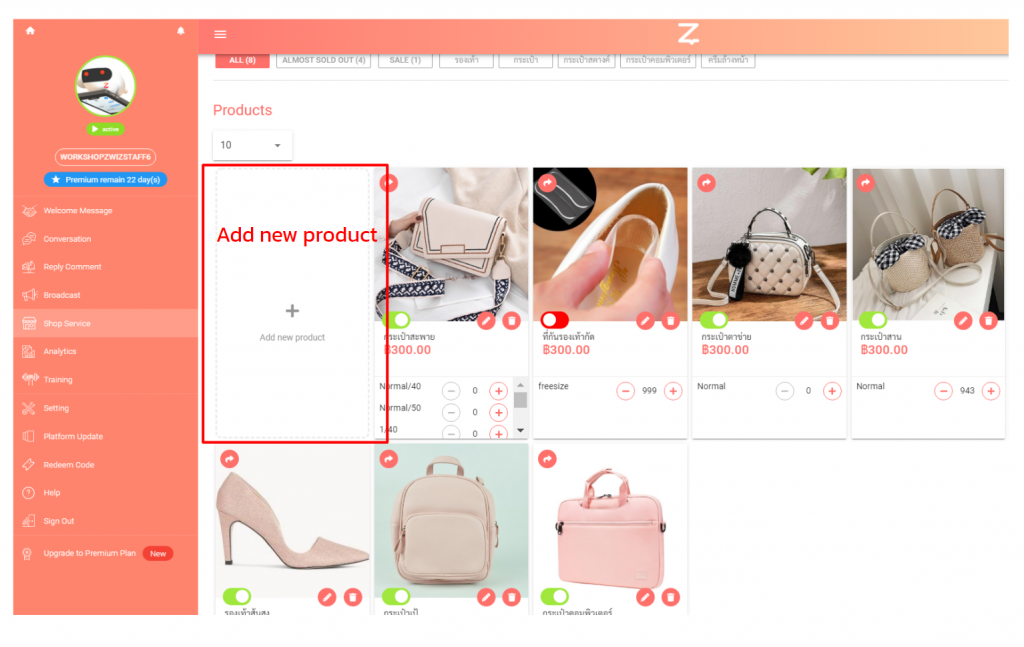
Step 5: Shop Service
Click to show/hide
In this step, we will put products in the shop so that customers can order products via chatbot system.
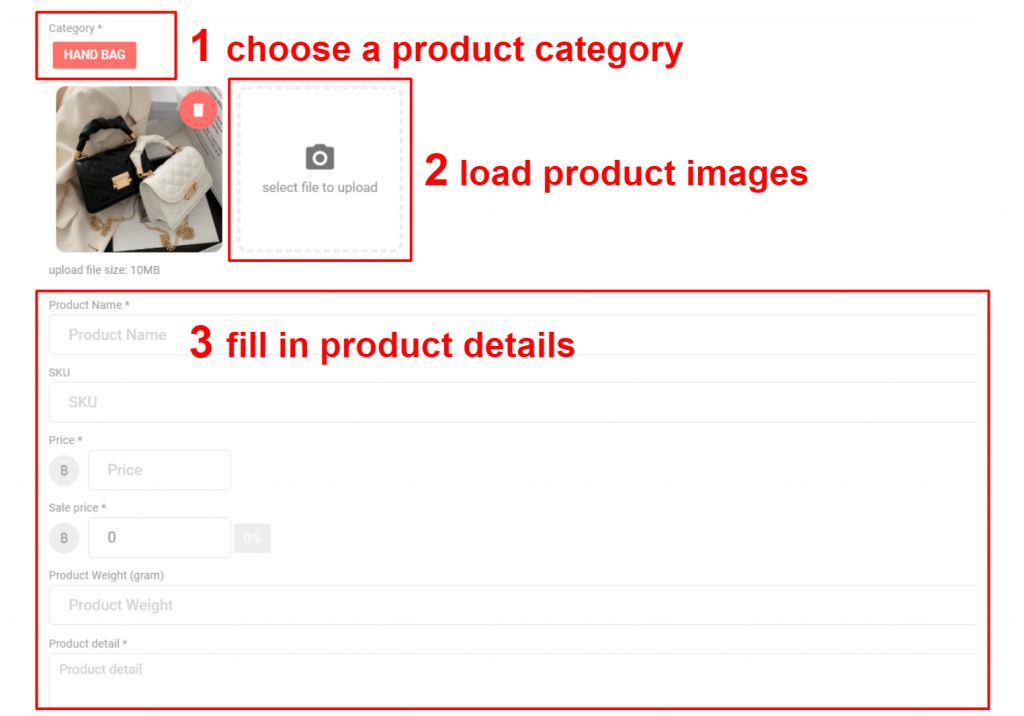

1.Let’s start by pressing + and then choose a product category.
2.Upload product pictures (File size must not exceed 10MB)
3.Enter product details such as product name, SKU/product code (if any), product price (if the product is not discounted). The system will automatically adjust the price equal to the full price), product weight. (Required to fill in the case of shipping by weight), and a detailed message about the product.
4. Fill in stock details such as color, size, weight, price, weight, product code can be set differently.
Step 6: Create a button to link “Shop Service”
(one-stop shop service)
Click to show/hide
1.In the welcome message or conversation, select the “Push Button” or “Menu List” style.

2.Press +add button
3.Name the button and select shop service to connect the store to the push button
Step 7: Payments
Click to show/hide
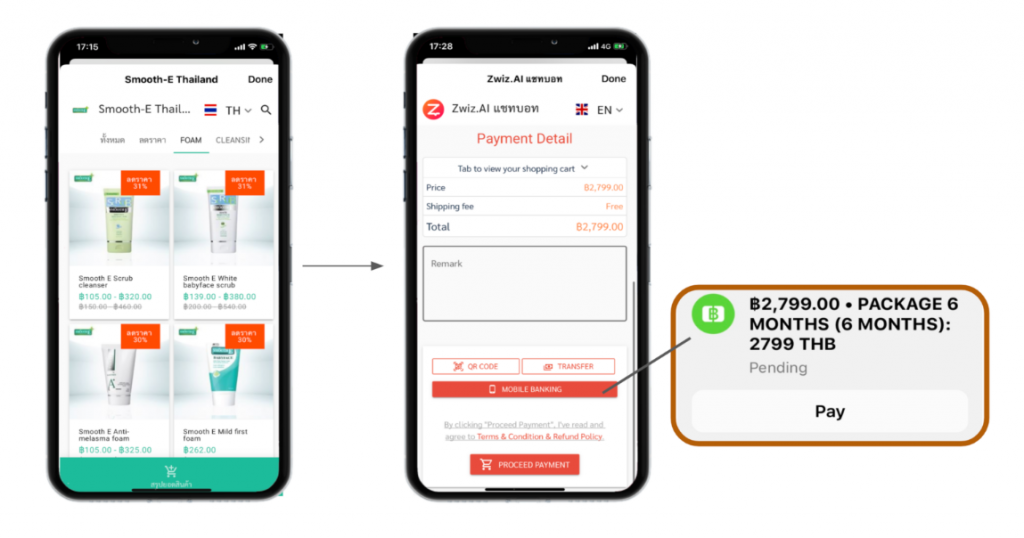
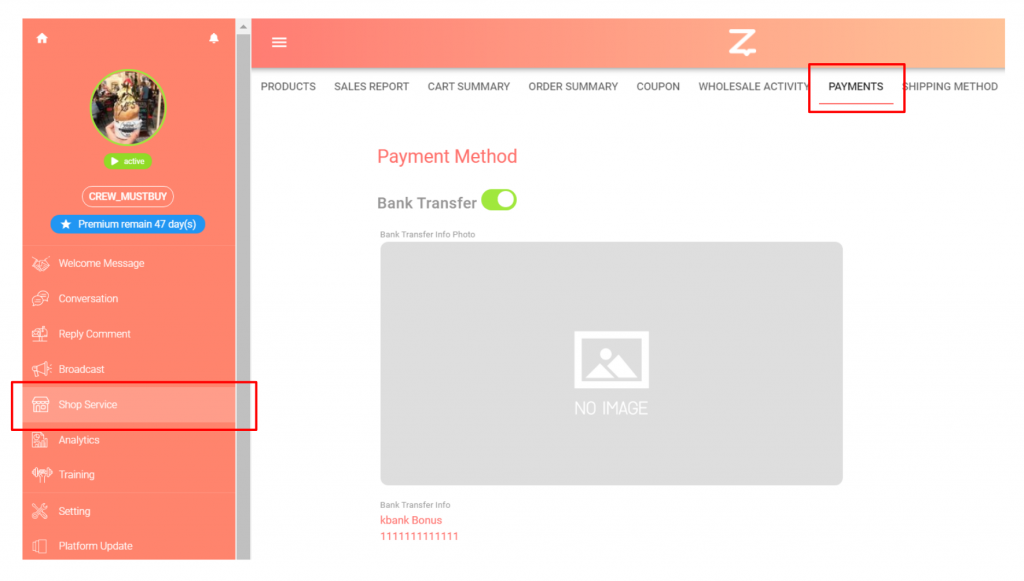
Zwiz payment methods are available in many ways for customers to choose to pay via chat at their convenience. Whether transferring money, credit card, QR Code, opening a bill, there is also a summary of orders behind the house for you to see.
Go to Shop Service > Payments for setting up payment on chat.
1.This message will be displayed on the customer’s chat page when the customer clicks on the product to add to the cart and clicks to proceed with the payment.
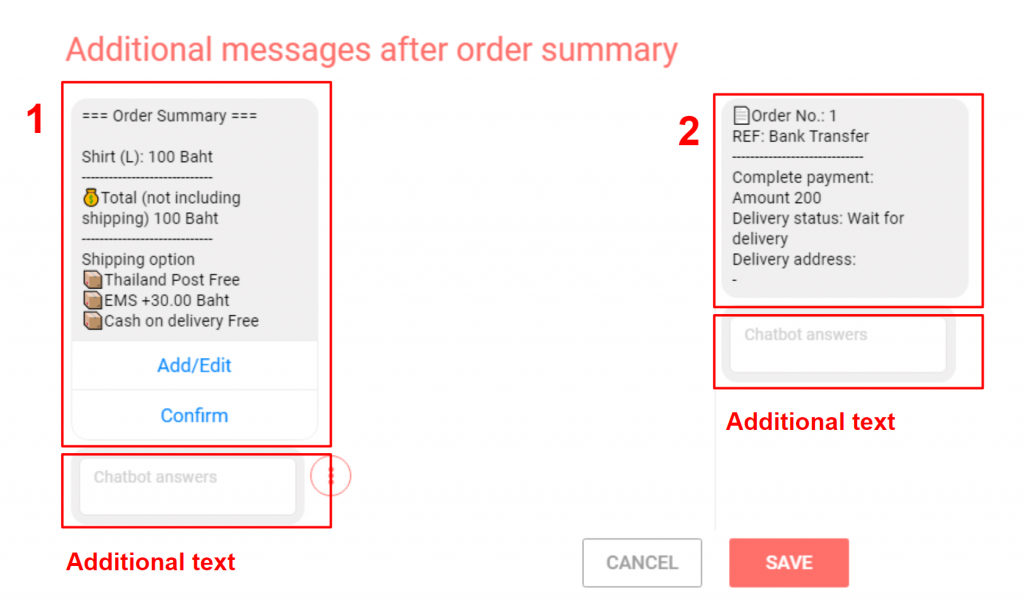
2.When the customer presses the confirmation button and completes the information, the system will send the order number with the additional message that we set back to the customer in the chat.
Step 8 : Shipping Method
Click to show/hide
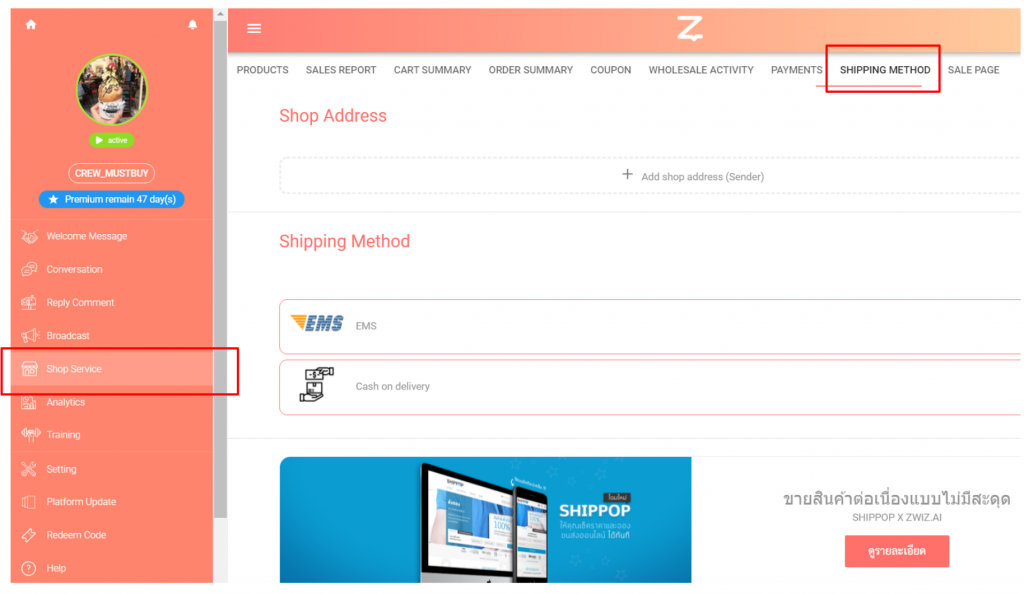
Choose a store’s transportation method. Slide to turn green
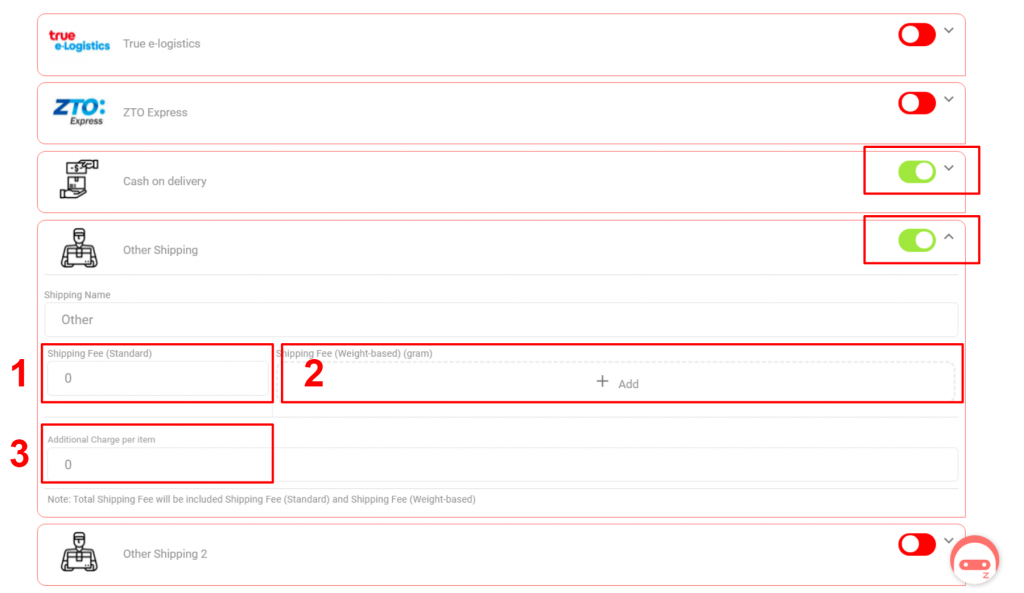
We can charge the freight in 2 ways:
1.based on the weight of the product.
– Default setting If not, enter 0.
– Enter weight range and price rate (Example as shown below
Note: ** If shipping by weight already. Make sure to include the default value of 0, or the price here will be positive. Because the price box in section 2. will be added to channel 1.
2.based on the amount of the product.
– From the picture above, topic number 3.
– Example: The customer buys the first lamp, delivery fee is 30 baht, the next item is additionally charged at 10 baht per piece.
– The first delivery fee is put in the shipping box (standard) 30 baht.
– Shipping fee for the next item is 10 baht. It will be added to the next shipping fee. (from the second piece)
– Then don’t forget to scroll down to press save.
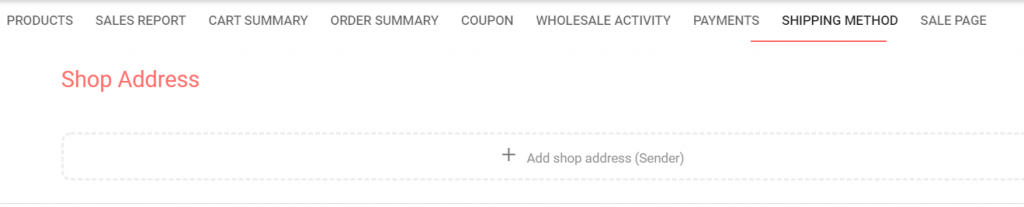
Other store addresses can be added. If we have multiple addresses and can choose where to take the address as a shipper.
Step 9 : Order Summary
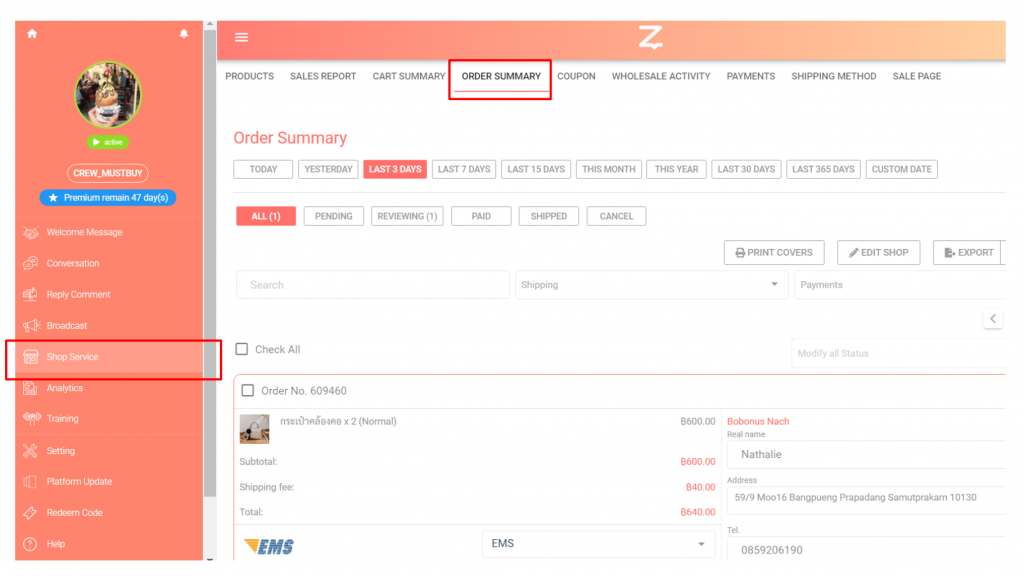
Click to show/hide
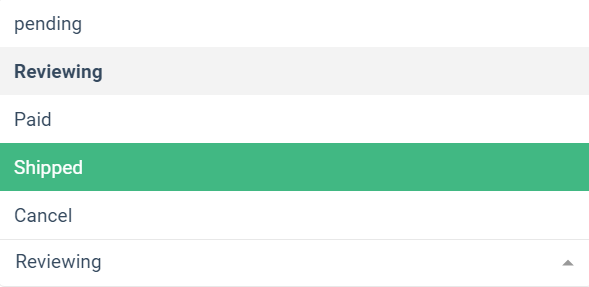
When an order is placed through the “One-Stop Shop Service”, this window summarizes all the details of the order and its processing. including product details, details of buyers and sellers’ addresses, money transfer status, money transfer slips, etc.
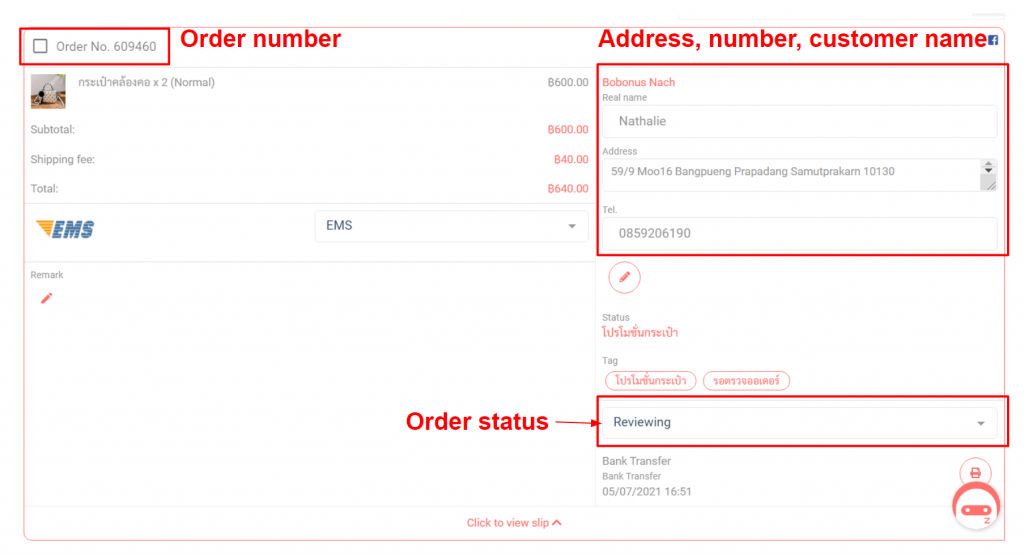
Users can update their order status by themselves. through the chatbot system
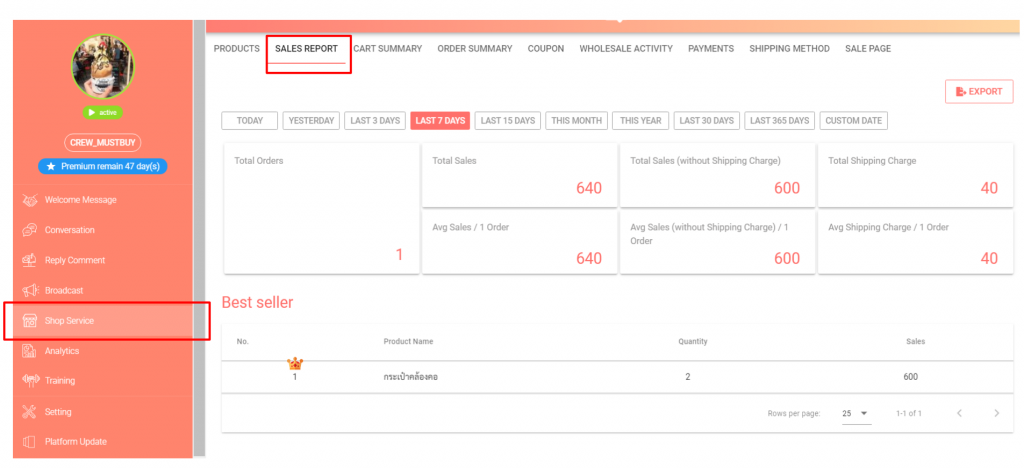
Step 10 : Sales Report
Click to show/hide
After setting up the chatbot system successfully.
– You can filter by date you want to see the report.
– The data includes the total number of orders, total sales, average sales / 1 order, etc.
– There is a ranking of the best selling products on the page.
– Able to export files to excel.
Install now!
If you have questions or need help
from our team.
please contact the ZWIZ MALAYSIA page.
